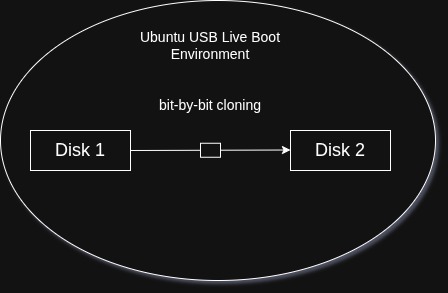
Hello ! Yesterday, i decided to finally upgrade my linux machine(Ubuntu) from 128 GB ssd to 512 GB ssd. I didn’t wanted to setup everything from scratch in my new ssd, so i decided that i will just clone my old ssd onto the new one. This will allow my laptop to run exactly as before, same files, same applications, same projects dependencies, same vs code settings, same ssh keys, everything but with extra space.
Booting into an independent environment
I can’t clone the source disk while my operating system is running from that disk. It’s because while running, Ubuntu is constantly changing :
- logs are being written
- databases may be updating
- configuration files can change
- application can write files
- caches are being flushed
The cloned filesystem could therefore be internally inconsistent if i did that. So, i must be doing the cloning from an independent environment. That’s where Clonezilla comes into the picture.
Clonezilla
Clonezilla is a free open source program for disk imaging and cloning. It is like a mini os which can serve as an independent environment while cloning. It is the most popular choice for disk to disk cloning via a bootable usb. So i decided to go with it and clone the disk without breaking anything. However, i ran into a very weird problem. My UEFI firmware was not listing the usb with the clonezilla iso file in the boot option menu.
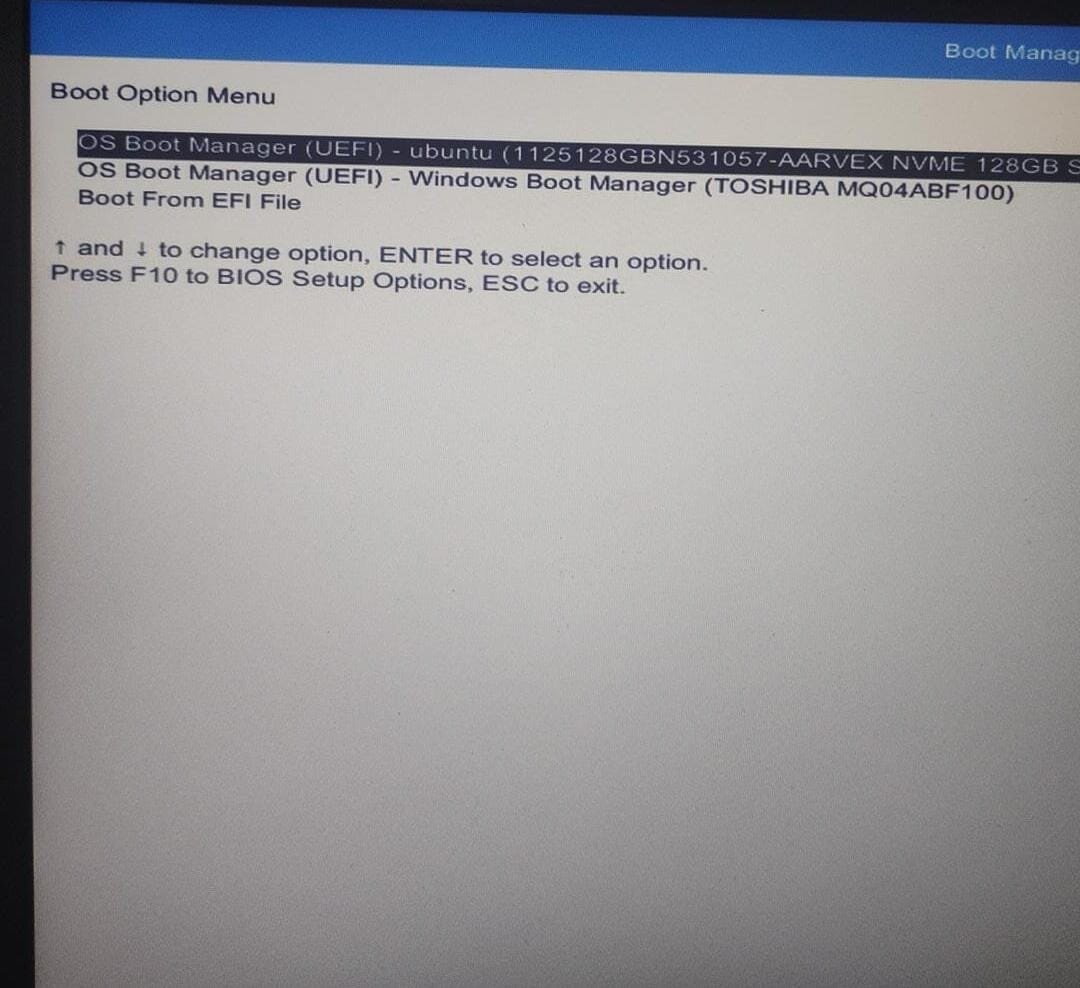
I thought, it would be because my secure boot was enabled, so i disabled it and tried again. Same result, the usb was not listed. For some reason, it was not working. That’s when i got the idea to use Ubuntu as an independent environment.
Cloning from Ubuntu Live USB
I went to the official ubuntu website and downloaded Ubuntu 24.04 LTS ISO in my downloads folder. Then, i used GNOME Disks to write the iso to my cruzer blade making it a bootable usb. I restarted my device and got into the boot manager with my bootable usb plugged in.
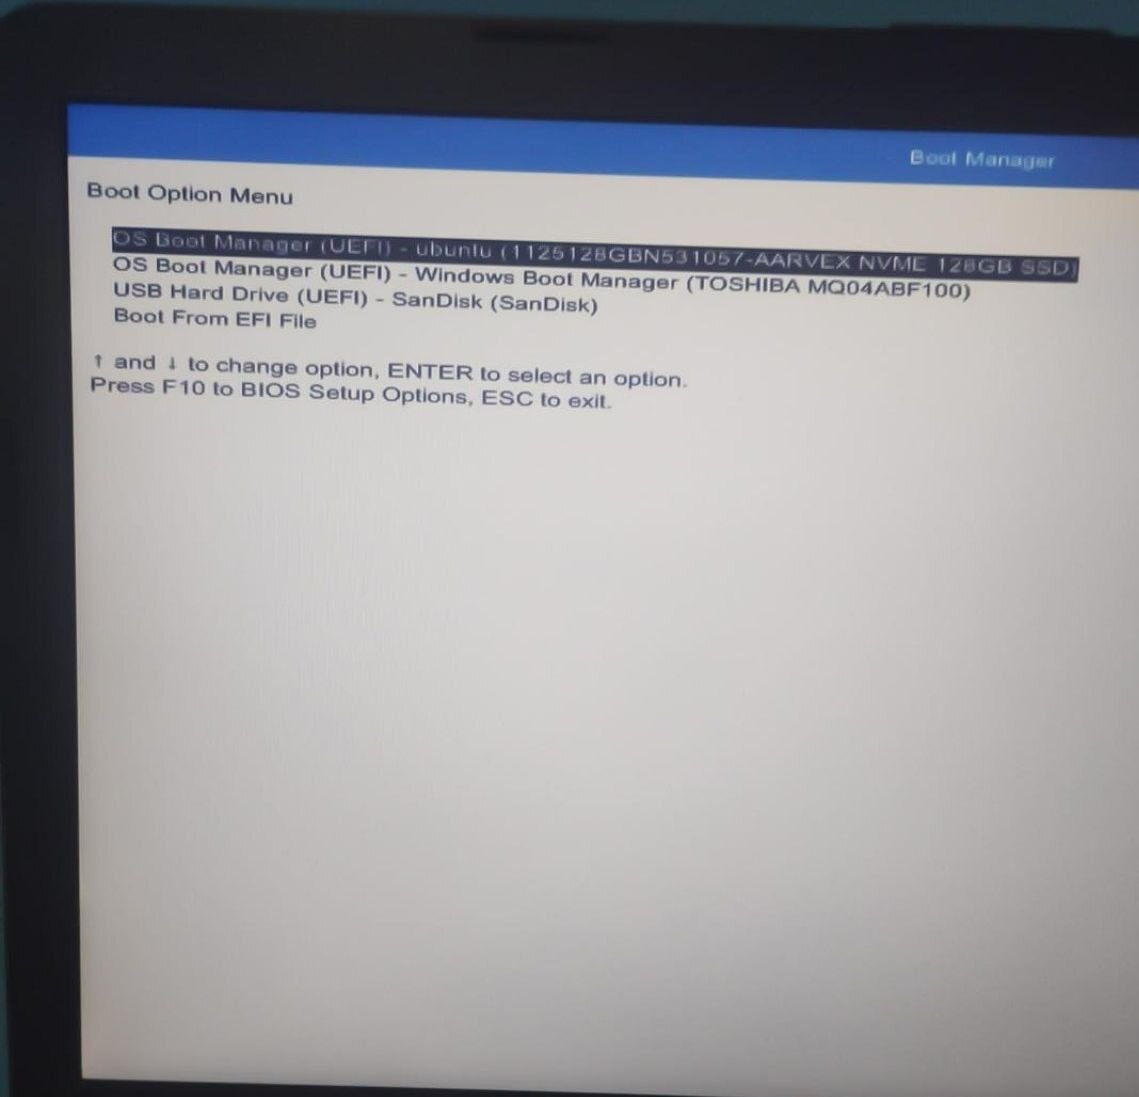
There i saw the usb option listed in the boot option menu and felt a sigh of relief for the fact that at least my cruzer blade isn’t broken which i thought it was when the clonezilla option didn’t worked. I selected the usb option and then hit enter. It took about 1-2 minutes for the laptop to boot from my cruzer blade which was expected due to its slow read/write speed. When i finally saw the classic Ubuntu desktop environment, i plugged in my new 512 GB ssd to my laptop via an enclosure.
dd command
To clone an exact copy of my old ssd onto my new ssd, i used the dd command. It is often nicknamed “disk destroyer” because it performs an exact bit-by-bit data duplication and can wipe out your disk if used incorrectly. But, if it is used correctly, it is a very powerful and invaluable command for creating system backups, cloning drives and creating bootable USB installation media.
Before using the command, i noted down the correct name of my attatched disks. To do this, i used the lsblk (list block devices) command.
lsblk -o NAME,SIZE,FSTYPE,TYPE,MOUNTPOINTS
I identify my disks by looking at its size. If the disk name is sdb, then its path for dd is /dev/sdb. Similarly, if the disk name is nvme0n2, then its path for dd is /dev/nvme0n2. Once, the source disk and target disk is identified, I was ready to run the following command.
sudo dd if=/dev/nvme0n1 of=/dev/sdc bs=64M status=progress conv=fsync
What does each term means ?
sudo- gives us root privileges to read and modify the attached disksdd- our main commandif=/dev/nvme0n1- source disk (if = input file)of=/dev/sdc- target disk (of = output file)bs=64M- copies data in 64 MB chunks to make the cloning fasterstatus=progress- Shows progressconv=fsync- writes all data from RAM caches to the target disk before the command finishes
Before hitting Enter, i checked for the correct path of my source and target disks for the last time and then pressed Enter
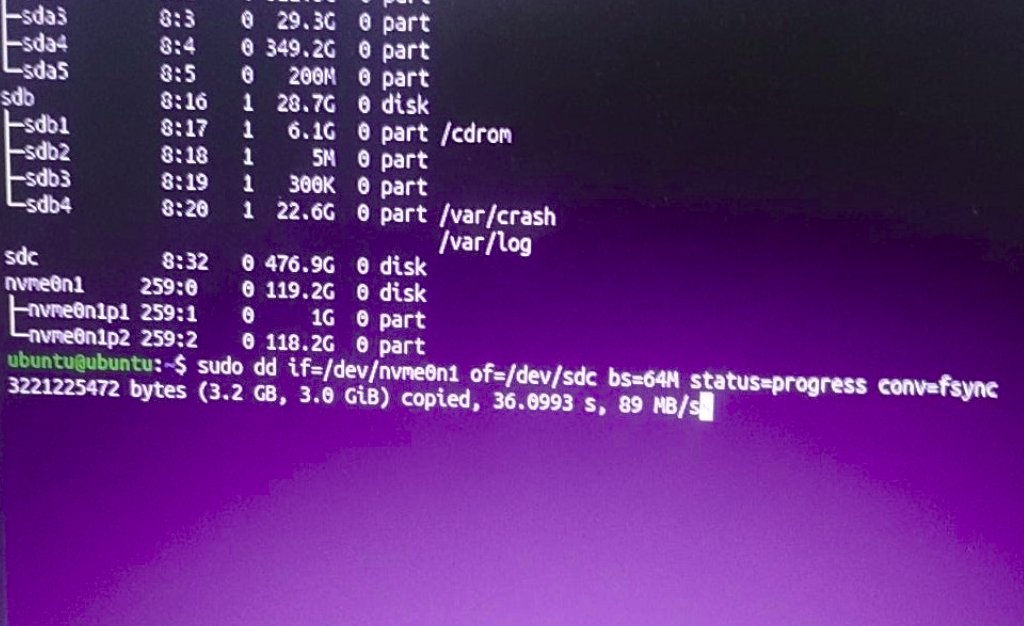
It took me around 45 minutes to clone my old disk (120 GB) because i forgot to apply the thermal pad on my new ssd inside the enclosure. Once, the cloning process is done, i got the following output.
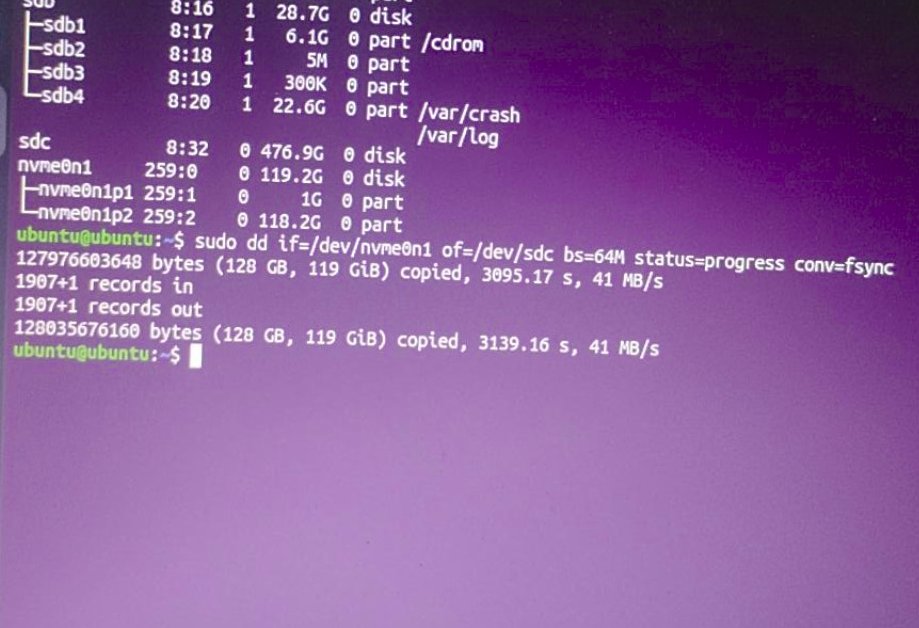
After seeing the message, i was sure that the cloning happened correctly and then closed the terminal. When i swapped my old ssd with the new one in my laptop, i turned it on and went to my laptop’s startup menu and entered Boot Options. There, i selected my new ssd and hit Enter. The boot process from now to the Ubuntu user login screen was exactly the same. As i authenticated myself, i saw the same wallpaper which i was using in my laptop with the old ssd. After checking some of my files and system configurations, i was sure that everything is exactly the same.
Claiming the unallocated space
As i opened the terminal, to check the size of the newly installed SSD, it was showing a value just slightly less than 128. This was expected. The dd command doesn’t just copies files and folders, it performs and exact bit-by-bit cloning. It cloned my previous 128 GB SSD exactly into my new 512 GB leaving the rest of the 384 GB space unallocated. Due to this, my system thinks that it has only 128 GB space.
To reclaim this space, i opened GNOME Disks using the search bar. From the left column, i choosed my 512 GB ssd. Under the volume section, i was able to see a visual map of my newly installed SSD. I clicked to highlight the partition which was sitting just left to a massive grey block saying ‘Free Space’. Then, i clicked on the gear icon below the partition map and a small window with a slider opened. I moved the right end of the slider to the extreme end to claim all the unallocated space. Then, i clicked on the “Resize” button and the system once again prompted me to authenticate myself. As i did that, i saw the partition with 128 GB size previously becoming 512. I opened the terminal to manually verify the reclaimed space and saw the number 511 next to the path to my new ssd.
The upgrade was finally complete.